

I put together a little passport that we went through and they each got to put a star on the countries that are tied to their family heritage. It was a fun activity and it got them really excited about the unique things that each country is known for.
I've included the passport cover and pages and you can put your own booklet together. Be aware, this is me taking bits of information from the internet, I may have gotten a thing or two wrong ;)
Inside there's a pledge for them to sign. Also, they can draw a self portrait and fill in the information, name, birthdate, country of origin and where they'd love to go.
For these kids, it was really all about opening up their minds to a place beyond their neighborhood, city, state and country. To understand more about all of the fabulous people and places in our world.
After we did this, I taught them how to make mini weavings. One of them said, "I could do this all day." I can't help but smile at that. It's a fun little group.
FREE PASSPORT PRINTABLE
SUPPLIES
Printer & paper
Xacto Knife
Ruler & Cutting Board
Bone Folder
Needle & thread
Awl (to poke holes in spine)
Rubber Cement
*I happen to have bookbinding tools, if you don't have these, something similar will suffice.
PROCESS
1. Print Cover and trim off the white border all around leaving all four panels of the front/back and inside.
2. Fold at the half point (short fold), then fold in half again.
3. Carefully glue the corners in place.
4. Print the pages so that pages 1-5 are on the front and 6-10 are on the backsides.
5. Trim off all the white borders and fold in half. Use your bone folder if you have one to get a good creese.
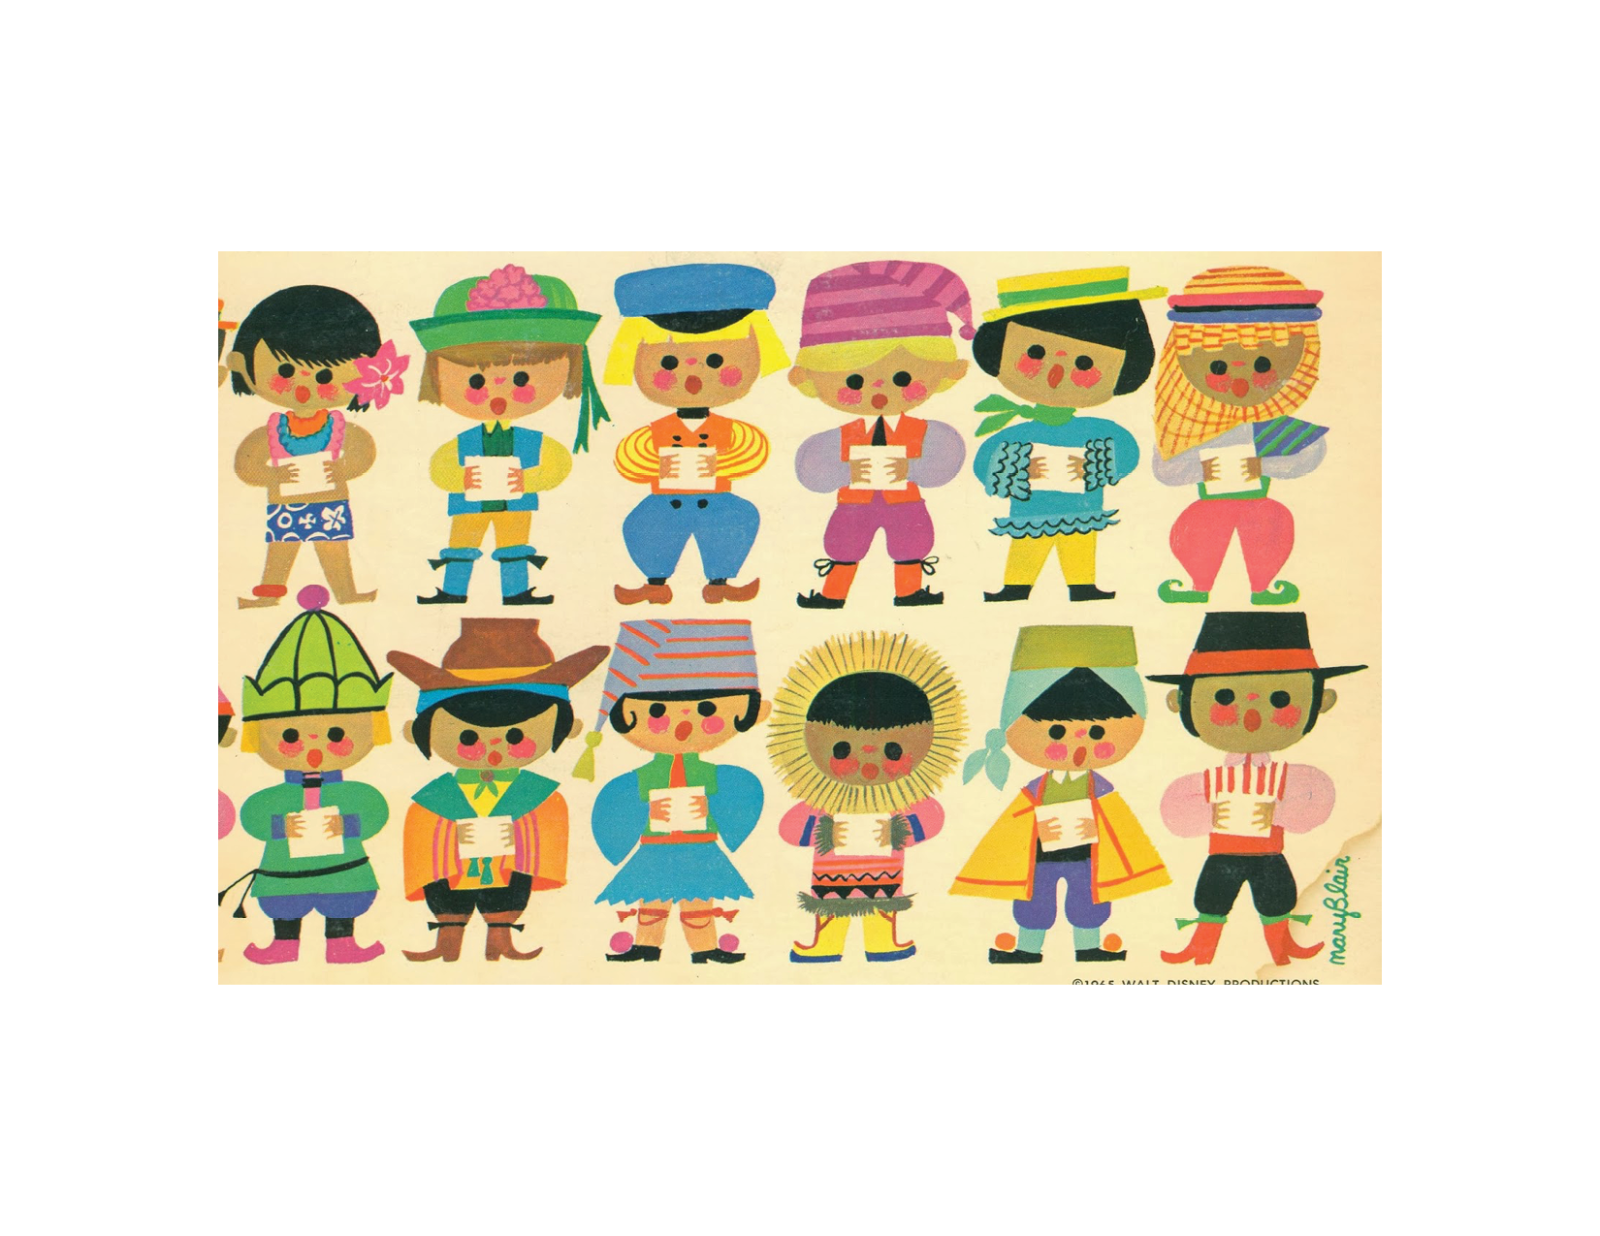
6. layer all the pages so that the cover is on the outside and the first page is Ireland (I did this mostly because it's St. Patrick's day soon). Put the Mary Blair illustration in the middle and make sure that United States is last, next to the child's passport information.
7. Open the booklet and poke a hole in the center of the creese. Then another a 1/2" from each end.
8. Thread your needle, no need to knot it.
9. From the inside go through the center hole, leaving about 3" of thread hanging.
10. Hold the tail in place and from the outside of the booklet go in from the top end hole. Now go back out through the bottom hole and back in through the center hole so that your back where you started with the tail.
11. Knot the two threads in the center inside of the booklet and trim.
12. You can trim the fringe of uneven pages from the outside if you'd like, but be aware that you could trim off the little flags on each corner of the pages.


No comments:
Post a Comment